
How to Create a Blog With ClickBank Accelerator: Official Step-by-Step Guide by Daniel Thrasher
Originally published on www.clickbank.com
Affiliate Marketing,Ecommerce
One of the best ways to get started as an affiliate is through affiliate blogging. Of the 5 types of affiliates we usually see on ClickBank, content publishers with an affiliate blog are uniquely able to get started with virtually no upfront cost and plenty of tools to help out.
Personally, I love building a blog as a way to establish a brand and build an asset with consistent monthly traffic that I can monetize using affiliate products. In fact, I’ve done it myself – and I can teach YOU how to do it too in my newly launched affiliate blogging course inside of Spark by ClickBank. In this tactical and in-depth course, The Profitable Affiliate Blogging System, I let you look over my shoulder as I build a NEW money-making blog from scratch!
But since creating an actual blog website is an important piece of the affiliate blogging puzzle, I wrote this epic guide to go along with my course. Read on to learn step-by-step how to create a blog with ClickBank Accelerator, the new funnel builder tool from ClickBank.
Let’s do it!
Join more than 117,000 affiliate marketers!
Get expert affiliate marketing insights delivered right to your inbox. Plus, subscribe now for a step-by-step guide to getting started on ClickBank!
What is an Affiliate Blog?
If you’re reading this post, you probably already know what an affiliate blog is, but if you need a refresher, I’ll quickly summarize here:
An affiliate blog is a content website designed to attract organic visitors from search and encourage them to purchase affiliate products referenced in your content. When your readers go make a purchase based on your recommendation, you earn a commission for each sale.
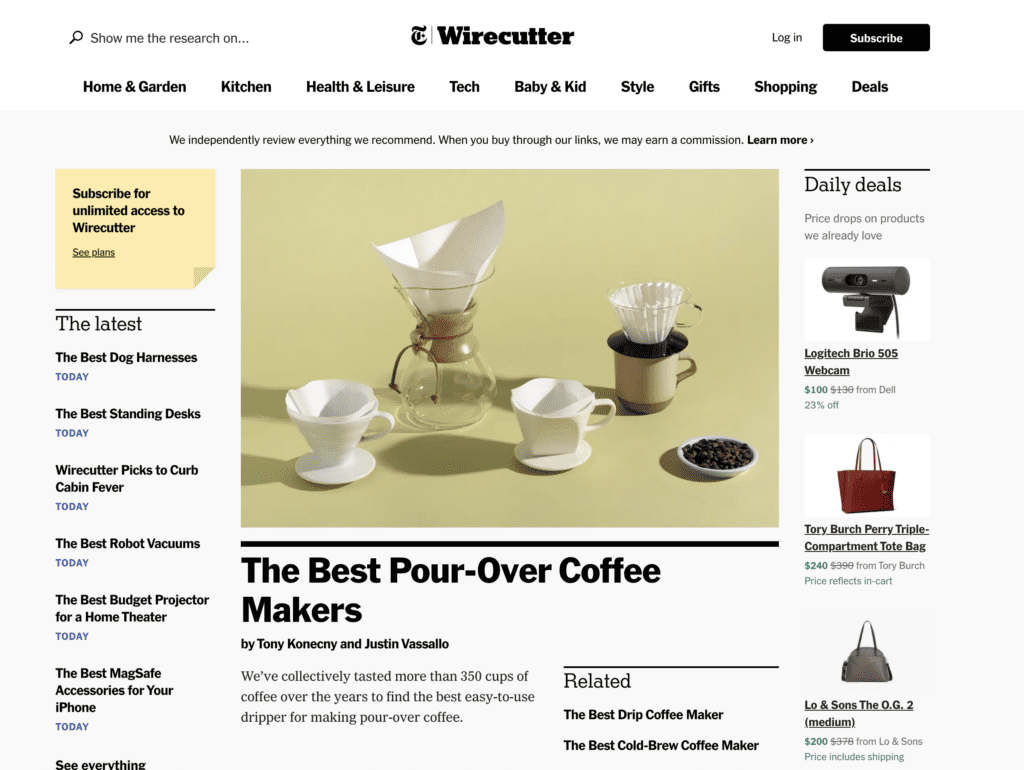
It’s pretty simple in concept, and there are a lot of affiliate sites out there. Probably the most prominent is Wirecutter, which bills itself as a “product recommendation service” from The New York Times. Through product reviews and informative articles, sites like Wirecutter can recommend products to readers and earn a cut of each sale they generate.

The cool thing is, you can do the same with your affiliate blog! You just need to decide which niche you want to focus on and have a few affiliate products you can recommend to readers of your content.
NOTE: If you don’t have a ClickBank account yet, be sure to sign up for a free ClickBank account so you can find high-converting products to monetize your new blog!
Why Build a Blog with ClickBank Accelerator?
Before we dive into how to build your blog with ClickBank Accelerator, let’s talk about why you’d want to go with ClickBank Accelerator over other popular tools! There are obviously a ton of different content management systems (CMSs) and site builders out there these days, including the ever-popular WordPress – as well as similar options like Webflow, Joomla, or Drupal.
Well, the honest answer is that Accelerator is an affordable all-in-one tool specifically designed for affiliate marketers! What that means is that if you build your blog with Accelerator, you’ll not only be able to build a full website with blog posts that rank in Google search, but you’ll also get access to email marketing, contact management, landing page building, and funnel building!
Even better, all of these separate functions play nicely with each other in one tool, so you don’t have to work so hard trying to get all of that different technology up and running in your business. Instead, you can focus on the important work of creating content and growing your blog!
Overall, ClickBank Accelerator is an easy and affordable way to get started with free traffic as an affiliate. If you want more details about it, you can read my full ClickBank Accelerator review to get the scoop on this all-in-one affiliate marketing tool from ClickBank!
Or if you’re ready to get access to Accelerator, sign up here!
NOTE: I wrote another article a while back on how to build an affiliate website that focuses on WordPress as the content management system to build your site on. Feel free to check that post out for another take on how to build your blog!
How to Create Your Blog in Accelerator
Okay, assuming you have an Accelerator account and you’re signing in for the first time, I’ll walk you through every single step to get your own affiliate blog up and running!
Remember, once your site is built, you’ll be able to start publishing content that earns you affiliate commissions!
NOTE: Before you start any site, it’s important to think about which niche you want to be in, and which affiliate products you want to promote. It’s beyond the scope of this article to talk about all of those steps, but I cover them in detail in my Profitable Affiliate Blogging System course. Check it out here!
Step 1: Create the Blog
The first thing you’ll want to do if you’re onboarding with Accelerator is select the blog funnel. You should be able to go through the onboarding wizard by visiting this link: https://www.cbaccelerator.com/onboard

Step 2: Add a Domain
You create a “system domain” when you onboard on Accelerator for the first time. This one doesn’t change and can’t be deleted. It will always remain as your system domain, and it allows you to work on your blog or landing page without worrying about it being live.
If you buy a domain at another registrar/domain provider, you’ll add in the domain in two ways:
Mydomain.com
Domain
Default URL
Any funnel associated with each domain needs the default URL added.

Make your new domain your “Primary domain” to go live with it. THIS is the URL you want to post or share online, NOT your system domain. Make sense?
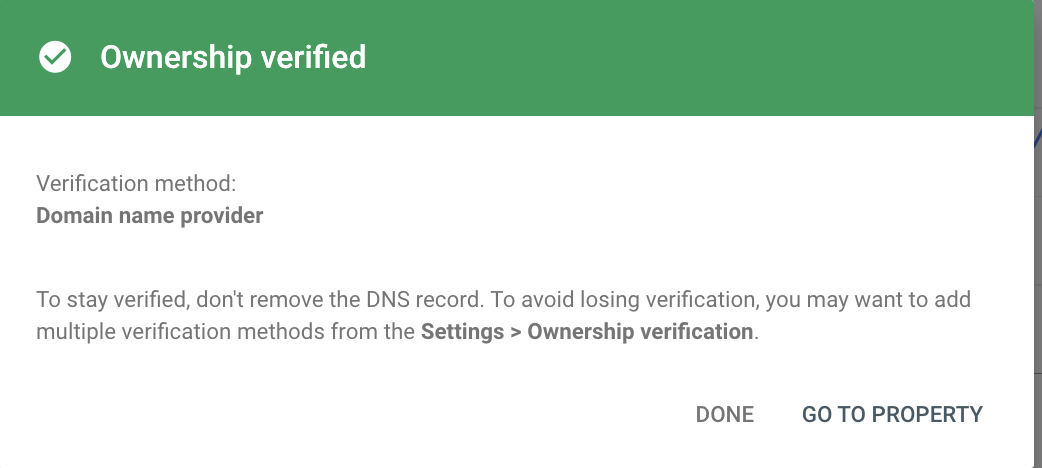
Step 3: Set Up Google Search Console

Setting up Google Search Console is pretty quick. If you bought your domain with Accelerator, then you can navigate to My Funnels > My Domains and click the little “Manage” button under “DNS Records.”
Then, you can hit “Add New Record” and create a TXT type, copy the TXT verification from Google Search Console, and hit save. Done!
Step 4: Set Up Google Analytics
First, you’ll need to create a Google Analytics account.
If you’ve never signed up for Google Analytics before with your desired email address, then you may need to go through the steps to create an account for the first time. This can be found under Admin by clicking the little gear icon in the bottom left corner of the screen.
Now, go to My Business > Settings in Accelerator to add the tag to the sitewide <head> text. Then, navigate down to Google in the settings and log in with the Gmail address you created the Google Analytics account with.
You’ll want to allow access to Wavoto Analytics. Once that’s verified, you’re all set!
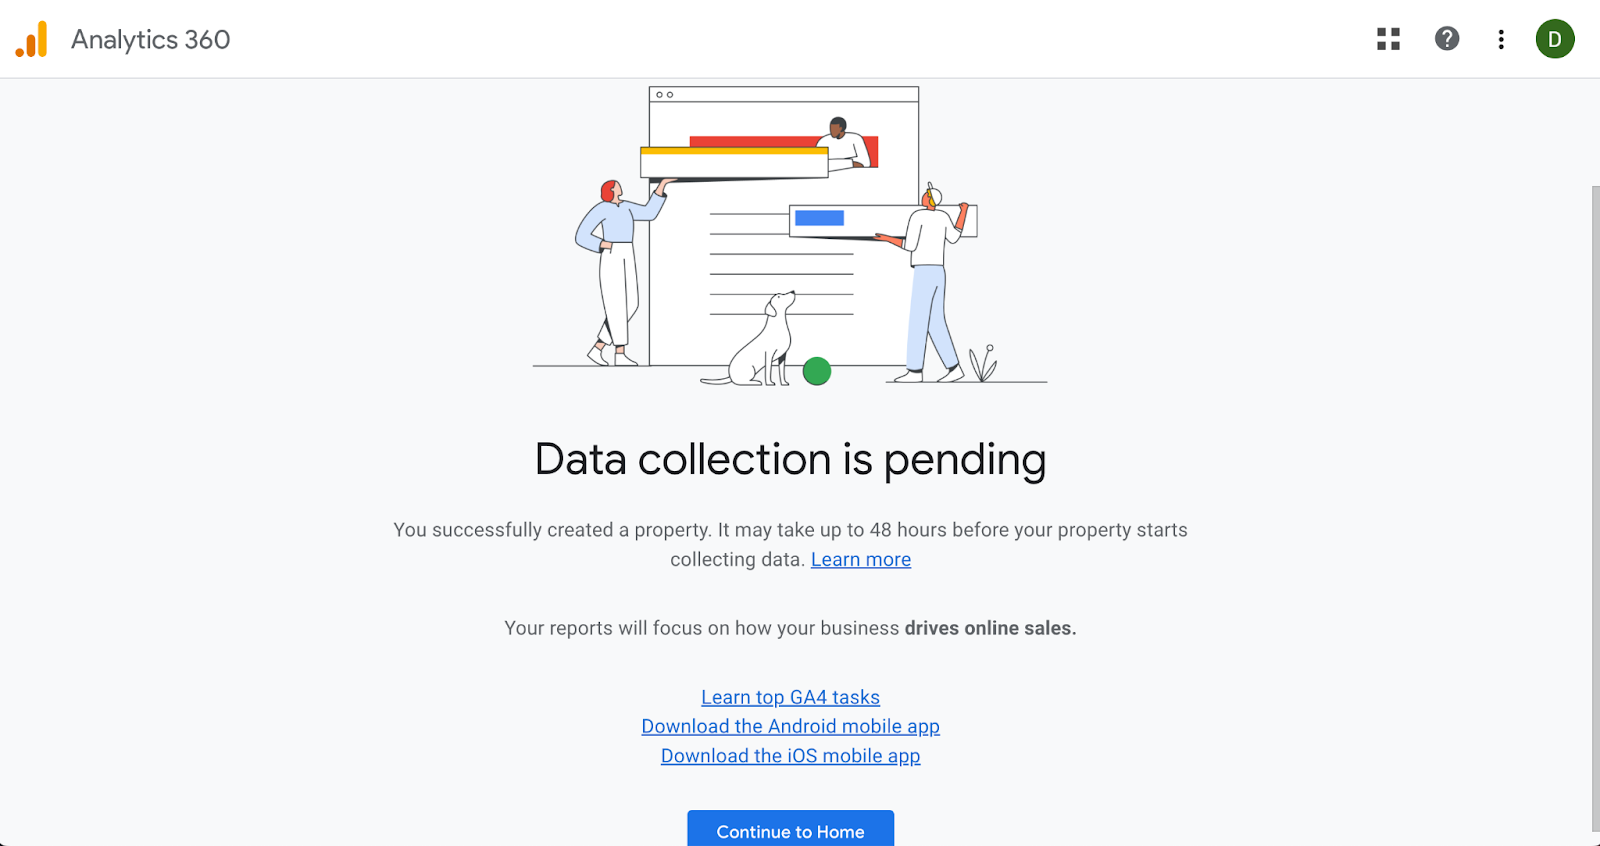
NOTE: It may take a few days to go from pending to having the data flowing, but with these technical steps out of the way, you can focus on more important things, like keyword research and creating content!
How to Customize Your Accelerator Site
In this section, I want to walk you through some key steps to customize your site.